The pilot’s life is not always about the nice view and the joy of flying, there are responsibilities and the flight administration is one of them. You have to fill your flight data in your logbook continously not just because to see them but because that’s the law according to FAA and EASA. Basicly you have two choices, you either use a paper logbook or have a digital one on your smartphone/tablet. We wrote about these in a previous article, you can read it here. But what if you want to use FlyGo’s Pilot logbook but you already have previous flight data you want to keep? We have the solution!
FlyGo’s Pilot Logbook International
The continous development is a key part of FlyGo’s philosophy. We are regularly adding new patches and upgrades to our apps and always searching for new, useful features. Our Logbook app is one of the most practical apps with dozens of functions and customizeable features, like the Auto-fill function, the Roster Buster integration and so on. The app is a very versatile and useful help with the flight logs and it is fully compatible with FAA and EASA regulations. With the latest update we have added a new feature which can make your flight log management a lot easier.
Introducing the new History feature
When you start using your new FlyGo logbook you don’t have to waste your time on filling all your previous logs one by one. Entering each log separately may take forever. The history feature gives you the possibility to enter all your previous flight data in a simplified way. Now you can summarize your flight history by any aspects in any time periods. We have made a simple guide to show you how to use this great feature.
How does it work?
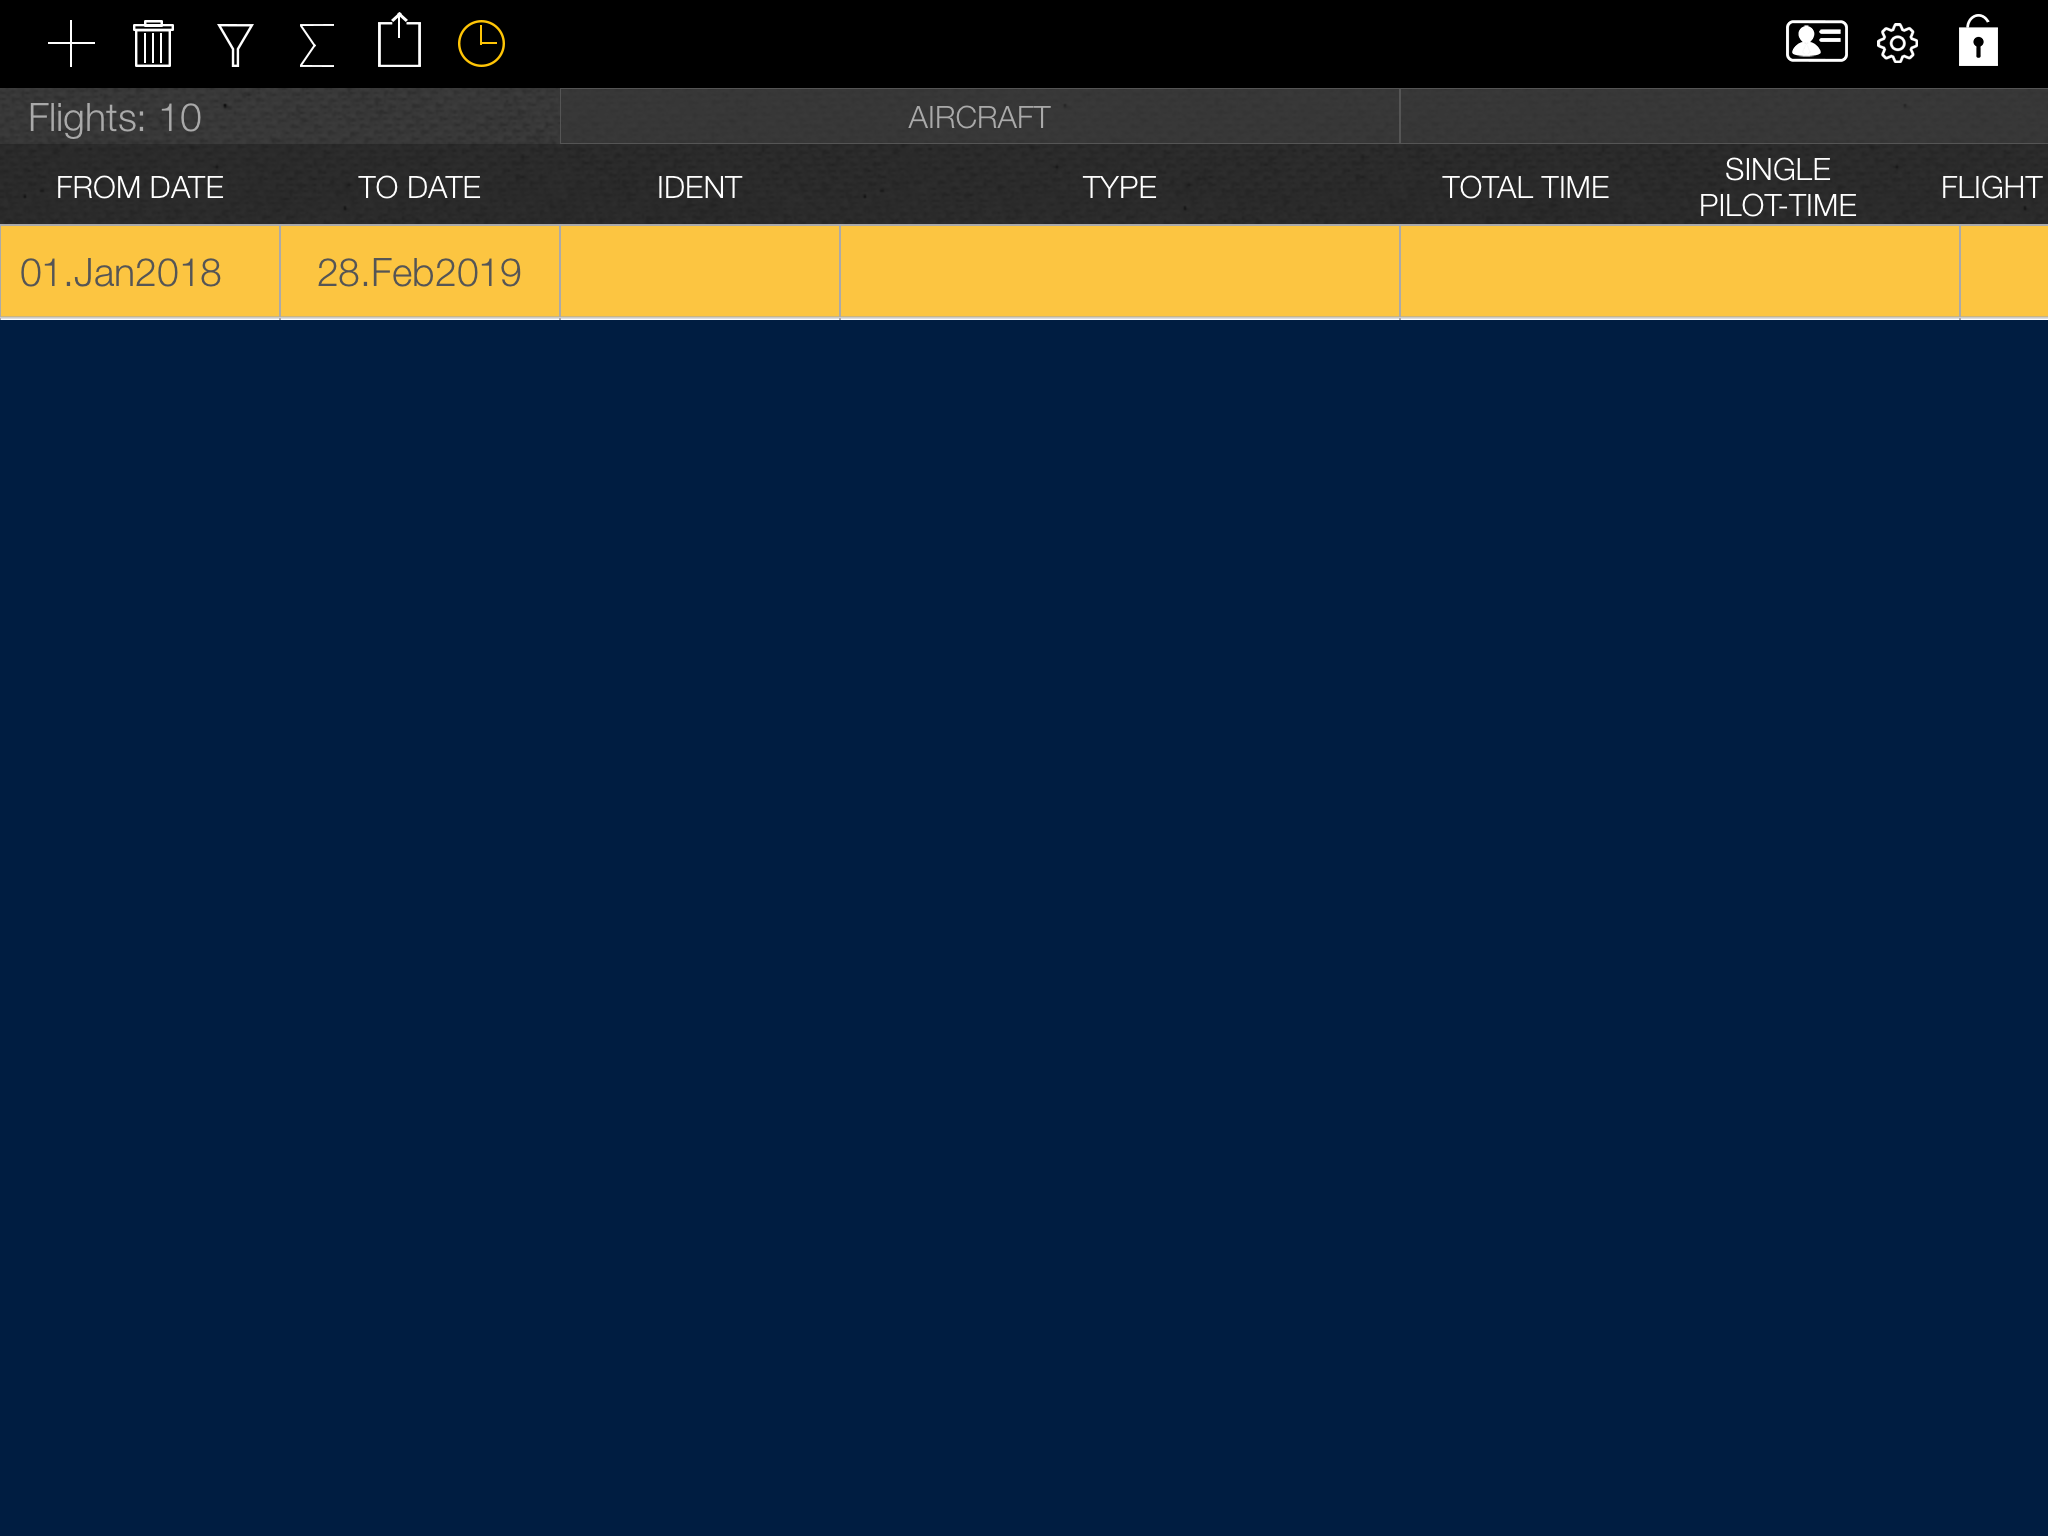
After you opened the app, you will see a clock icon on the top row. To reach the History panel, simply just tap this icon. Now, add a new log by clicking on the “Plus icon” on the top of the screen. A new row has appeared which contains the actual date and empty cells by default. By tapping to the row you can edit the flight data.
To fill in a cell, simply tap it. Don’t forget that each row contains a summary of your flight experience in a given period. You can customize the appearing columns too. For that, tap the “Settings icon” on the top right corner.
Example
Let us show you a simple example to see how it works in real life. Suppose you downloaded the Pilot Logbook app in March. Until then you filled your logs on paper. Now you want to register your previous flight history as fast as possible.
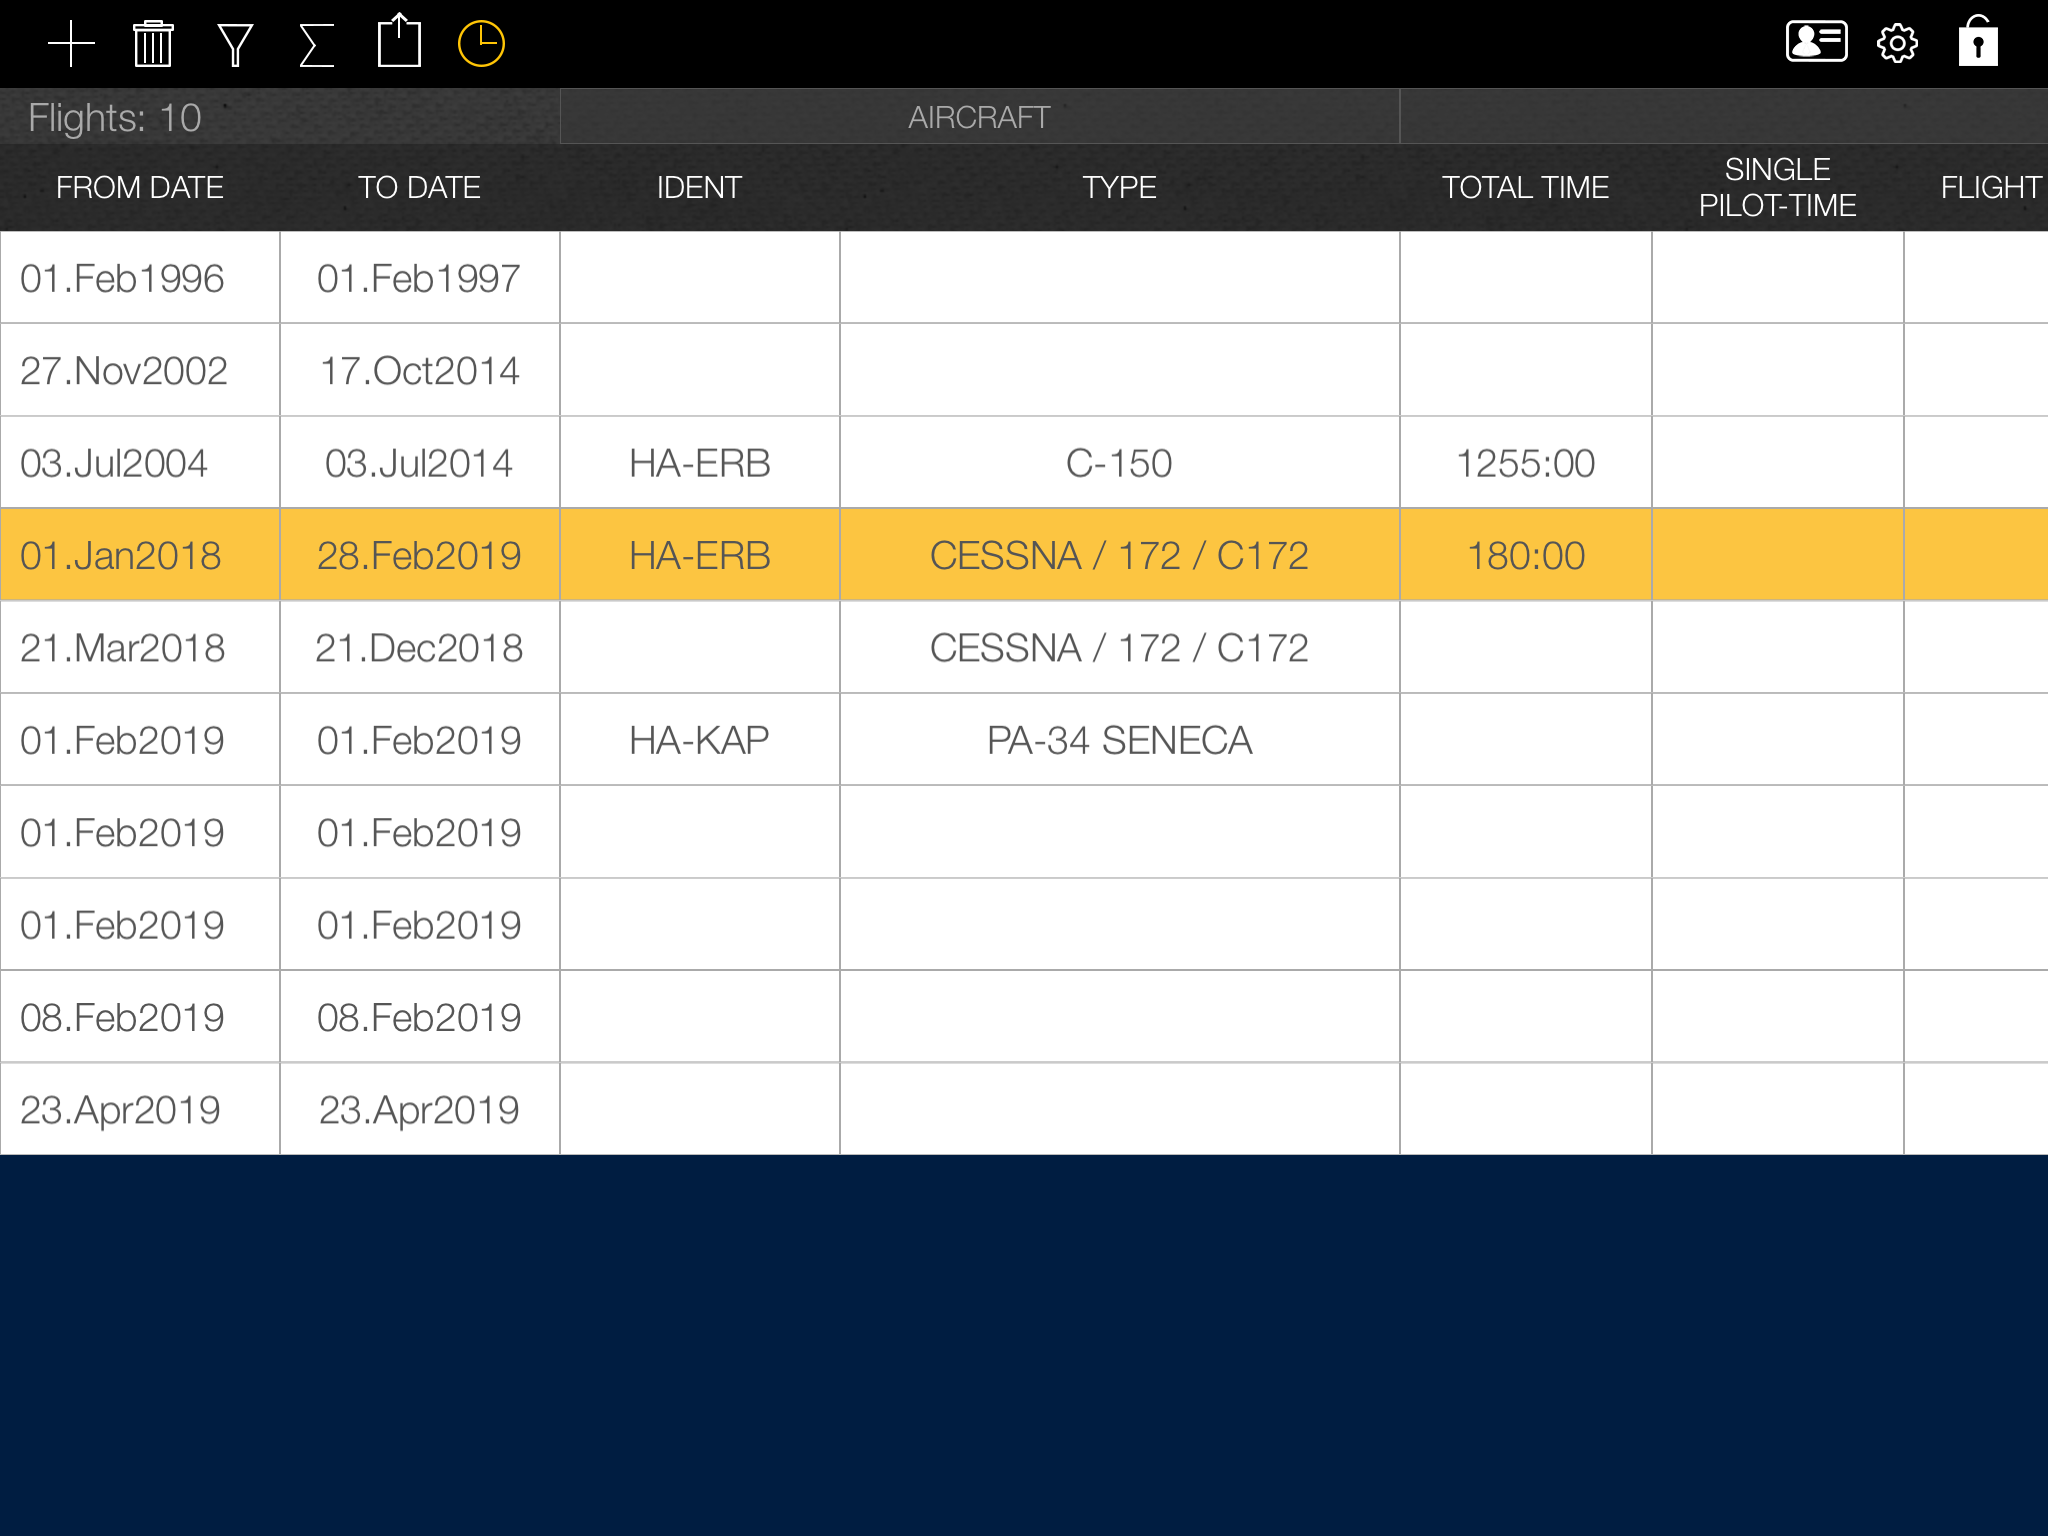
To do this, simply add a new row and fill the cells the following way:
Modify the ‘from’ and ‘to’ dates to match the time period when your paper logbook was in use.
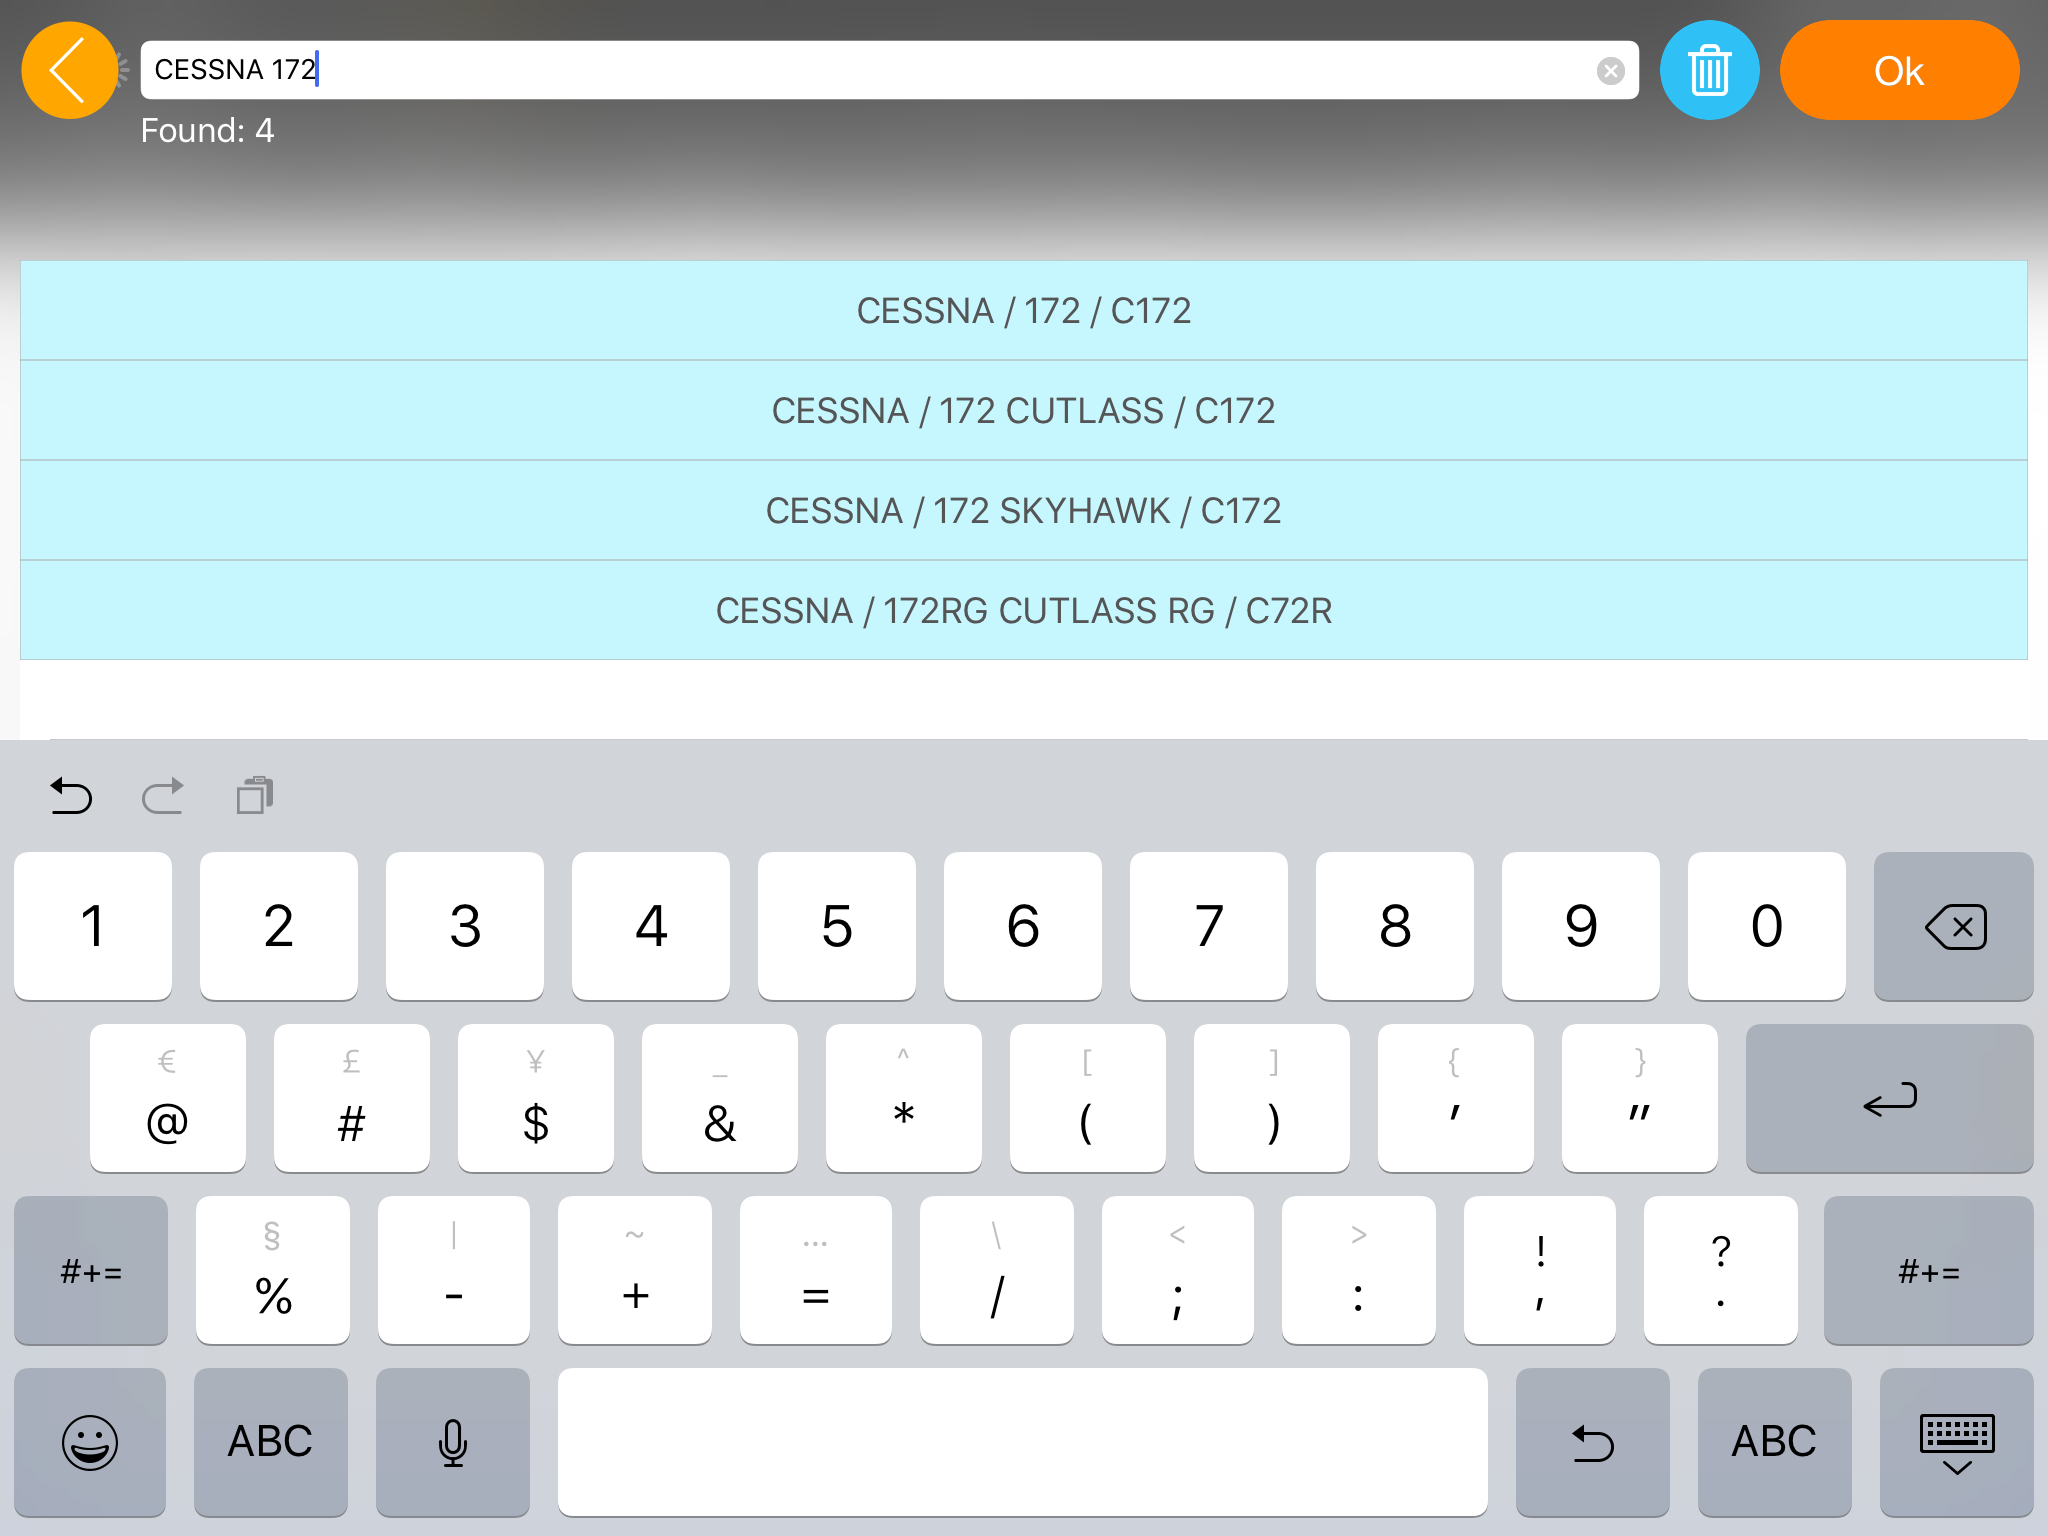
Say you had a total of 180 logged hours on the same Cessna 172. Select or add its type and identification.
Fill in the summarized information such as the total flight time, number of take-offs, etc.
You can continue to add new rows to your history by any aspects you find important such as IFR, instructor time, and so on.
When you are done, our application will take your history into account while generating reports or calculating your flight time and experiences, so you can manage your flight data in one place.
When you are all set, in the generated reports you’ll se the updated flight data with your previous flights:

We hope you found this article useful and learned how to manage your Flight History!
We also made a video version, you can watch it here:
https://www.youtube.com/watch?v=xUoOYQzfyHE
We highly recommend you to read the other articles and watch our other videos to become familiar with our growing number of new functions. Be sure to never miss any of them by subscribing to our YouTube channel!
If you don’t have FlyGo’s Logbook yet, download it on the AppStore!
Fly safe and see you next time!
Did you like the article? Follow us on Facebook and never miss the fresh content!